Why Your Daylilies Aren’t Blooming: How to Find the Cause and Fix It

11 min read
Contents
- Start With What the Plant Is Actually Doing
- Healthy leaves but no flower scapes
- Flower scapes appear, but buds fail
- The plant flowered last year but not this year
- The Five Checks to Make Before Changing Anything
- Count the hours of direct sunlight
- Look at the crown and surrounding soil
- Check for crowding and competition
- When Fertilizer Makes the Problem Worse
- What too much nitrogen looks like
- When compost is enough
- Why Cold Winters and Short Summers Change the Diagnosis
- A Practical Recovery Plan for This Season and Next
- Changes you can make immediately
- Jobs best left until spring or after flowering
- When a Healthy Daylily Simply Needs More Time
A clump of daylilies can look perfectly healthy in June, with plenty of green leaves, yet produce almost no flowers. Sometimes the problem is obvious, such as a tree that now shades the bed. Other times, the cause lies below ground, in the previous season’s weather, or in the way the plant was divided.
The good news is that most flowering problems are manageable. The trick is identifying what’s actually happening before you reach for fertilizer or dig up the entire clump.
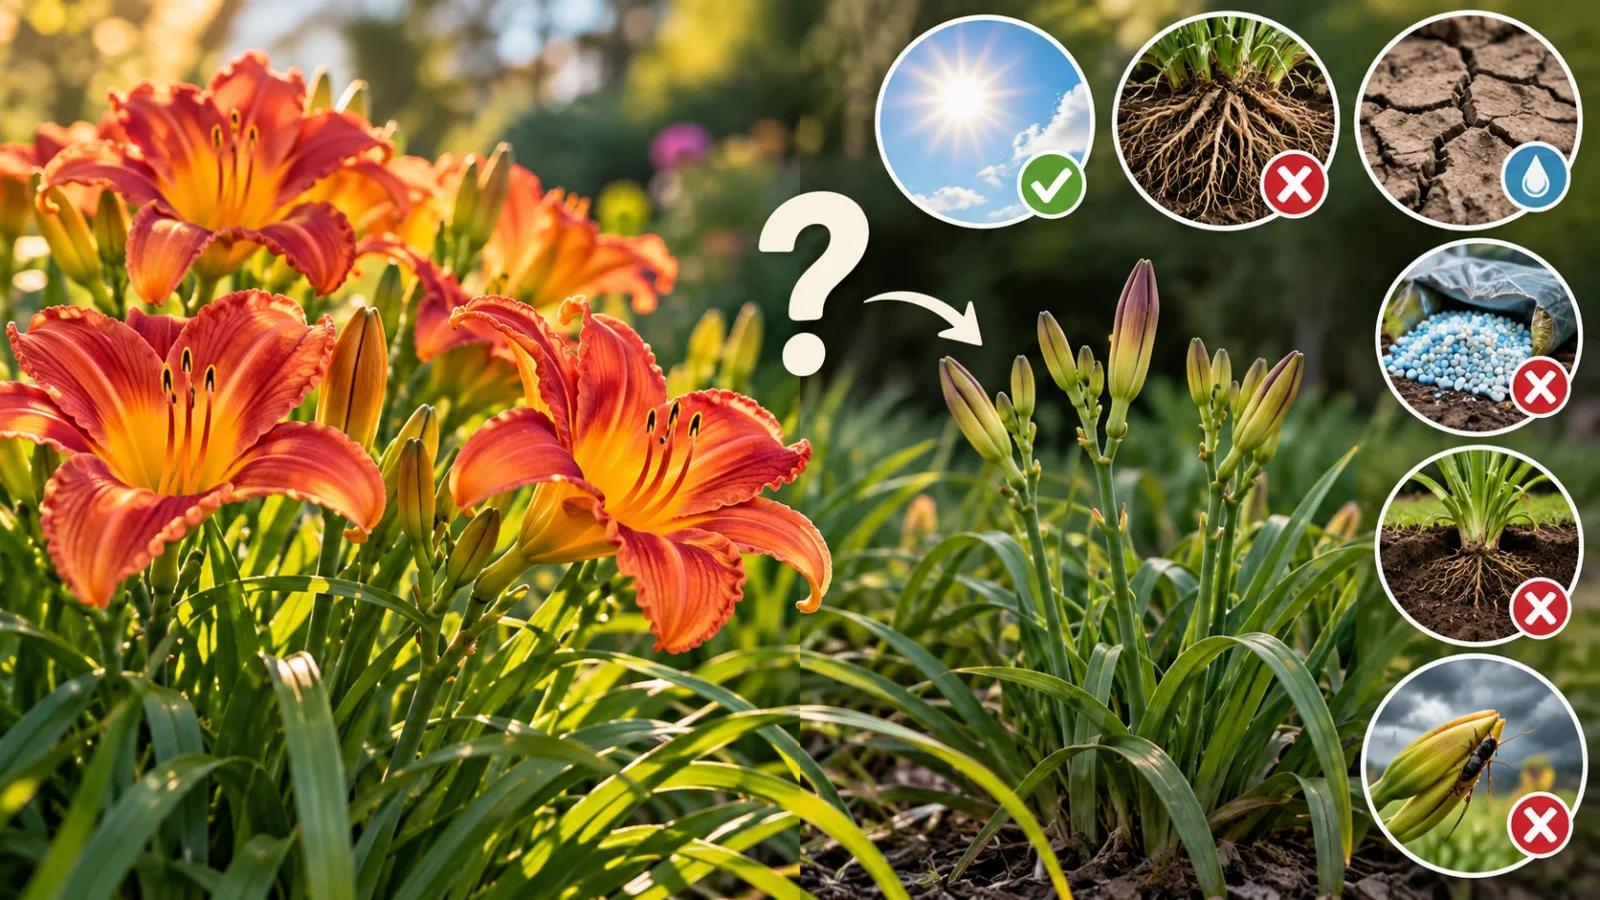
The short answer: Daylilies usually flower poorly because of insufficient sunlight, crowded roots, inconsistent moisture, excessive nitrogen, or planting too deeply. Recently divided plants may simply need time to recover. If flower stalks appear but the buds never open, weather damage or pests are more likely than a lack of fertilizer.
Start With What the Plant Is Actually Doing
Not every daylily that fails to flower has the same problem. A plant with no flower stalks needs a different investigation from one with swollen, damaged buds.
A daylily flower develops on a leafless stalk called a scape. Each scape carries several buds, which open in succession. An individual flower normally lasts about a day, but the entire stalk can provide colour over several weeks.
Before making changes, use the symptoms to narrow down the possibilities.
| What you see | Likely causes | What to check first | Best next step |
|---|---|---|---|
| Plenty of leaves, no flower scapes | Too much shade, nitrogen, or root crowding | Summer sunlight and clump size | Improve growing conditions |
| Scapes form, but buds dry up or drop | Water stress, temperature extremes, pests | Soil moisture and bud condition | Correct watering; inspect buds |
| Swollen, distorted buds won’t open | Possible daylily gall midge | Unusual swelling or larvae inside buds | Remove and dispose of affected buds |
| Fewer flowers each year | Crowding or increasing shade | Age of clump and nearby trees | Divide or relocate if necessary |
| Few flowers after transplanting | Root disturbance or incomplete establishment | Date of planting and new growth | Allow time for recovery |
Healthy leaves but no flower scapes
Strong foliage does not necessarily mean a daylily has everything it needs to bloom. Plants growing in partial shade may produce attractive leaves while putting less energy into flowers.
This often happens gradually. A border that received full sun five years ago might now sit beneath an expanding maple canopy or behind taller shrubs.
Root crowding is another possibility. As a daylily matures, its fans of leaves multiply, creating a dense clump. Eventually, competition for water and nutrients can reduce flowering.
A recently planted daylily, however, may have no problem at all. Small divisions sometimes spend their first growing season rebuilding their root systems instead of producing an impressive display.
Flower scapes appear, but buds fail
If the plant produces scapes, it has already progressed further towards flowering. Look carefully at the buds.
Small buds that turn brown and dry during hot weather may indicate moisture stress. Daylilies tolerate drought once established, but surviving a dry spell is not the same as flowering well through it.
Distorted, unusually swollen buds deserve closer inspection.
One particularly relevant pest is the daylily gall midge (Contarinia quinquenotata). Its larvae develop inside unopened buds, causing them to swell, become misshapen, and sometimes fail to open entirely.
The pest has been reported in British Columbia and parts of eastern Canada. Early-flowering cultivars can be particularly vulnerable.
If you suspect gall midge, remove affected buds before the larvae can complete their development. Freezing infested buds before disposal can help prevent surviving larvae from reaching the soil. Avoid composting untreated, infested material.
One other distinction matters: a daylily flower that opened yesterday and has already wilted today is behaving normally. It is not a failed bud.
The plant flowered last year but not this year
A sudden change often points to something different in the growing environment.
Perhaps nearby construction altered drainage, a shrub grew larger, or the clump was divided the previous autumn. A prolonged dry period during spring growth may also have reduced flower production.
Compare the current season with the previous one rather than assuming the plant has developed a permanent problem.
If neighbouring daylilies are blooming normally while one clump is not, inspect that particular spot. Small differences in moisture, shade, soil compaction, and root competition can produce noticeably different results.
The Five Checks to Make Before Changing Anything
These checks take little time and can prevent unnecessary digging or fertilizing.
Count the hours of direct sunlight
Daylilies generally flower best with at least six hours of direct sunlight daily. They tolerate some shade, but flowering usually becomes less reliable as light decreases.
Check the bed at several points throughout a clear summer day. Do not judge the site by how bright it looks at noon.
A location might receive excellent morning sunlight but become shaded by early afternoon. Another might appear sunny in April, before deciduous trees develop their full canopy, but receive limited direct light by July.
Four or five hours of sun will not automatically prevent flowering, particularly with an established cultivar. It does, however, make inadequate light a sensible first suspect.
Look at the crown and surrounding soil
The crown is the point where the leaves meet the fleshy roots. When planting daylilies, it should generally sit about 2.5 cm below the finished soil surface.
If a plant was buried too deeply, or accumulated layers of mulch and soil over several years, its vigour and flowering may suffer.
Gently move the surface mulch aside to assess the crown. There is no need to excavate healthy roots during the growing season.
Next, examine drainage. Soil that remains saturated long after rain can compromise root health. If foliage is yellowing or collapsing as well as flowering poorly, investigate possible root damage rather than adding more water.
Check for crowding and competition
Look for a tightly packed mass of leaf fans, a declining centre, or flower stalks becoming fewer over successive seasons.
Not every large clump needs division. Some varieties remain productive for many years, while vigorous ones become crowded sooner.
Also inspect what grows nearby. Established trees and shrubs can absorb considerable moisture from the same soil occupied by daylily roots.
Two more checks complete the diagnosis:
- Moisture: Push a finger or narrow trowel several centimetres into the soil. A dry surface is not necessarily a dry root zone, especially beneath mulch.
- Recent changes: Review fertilizer applications, transplanting, unusually cold weather, and whether the cultivar has reached its expected bloom period.
Together, these observations provide a much stronger diagnosis than leaf colour alone.
When Fertilizer Makes the Problem Worse
A daylily with few flowers does not automatically need feeding. In reasonably fertile soil, excessive fertilizer can create more problems than it solves.
What too much nitrogen looks like
Nitrogen encourages leafy growth. In excessive amounts, it can favour foliage development at the expense of flowers.
This is particularly relevant when daylilies grow beside lawns. Regular lawn fertilizer applications may supply more nitrogen than the flower bed requires.
A large, intensely green clump with limited flowers is consistent with excess nitrogen, although shade and crowding can produce similar symptoms. Appearance alone cannot confirm a nutrient imbalance.
Avoid applying additional high-nitrogen fertilizer simply because flowering is disappointing. Correcting the underlying light or moisture problem will often be more useful.
When compost is enough
Daylilies perform well in average, well-drained garden soil. Where the soil already supports healthy growth, a modest application of finished compost can help maintain organic matter without making heavy fertilization routine.
Sandy soils may benefit from improved moisture retention, while compacted clay soils require attention to structure and drainage.
If plants remain unproductive despite appropriate sunlight and watering, a soil test can help identify whether nutrient correction is genuinely necessary.
There is little benefit in applying a high-phosphorus bloom booster without evidence of a phosphorus deficiency.
Why Cold Winters and Short Summers Change the Diagnosis
Daylilies are hardy perennials, but surviving winter and producing reliable flowers are two different things.
In colder continental regions, including much of the Prairies, plants may experience sharp spring temperature changes after early growth begins. Emerging daylily foliage generally tolerates light frosts, but more severe freezing can damage tender growth. If flower scapes or developing buds are injured, the display may be reduced.
Do not immediately remove an entire plant because its early leaves look damaged. Wait to see whether healthy new growth emerges.
In coastal British Columbia, the challenge may be different. Relatively mild temperatures can allow daylilies to grow well, but persistently wet, poorly drained soil can affect root health.
Summer moisture matters across the country. A dry spring can limit the development of strong scapes even if rainfall arrives later.
Short growing seasons introduce another complication: reblooming varieties.
A cultivar described as a rebloomer can produce more than one flush of flowers under suitable conditions. That does not guarantee a second display in every garden.
A variety that flowers twice during a long, warm season may manage only its main flush where summer ends earlier. This is not necessarily evidence of poor care.
Canada’s plant hardiness zones help gardeners assess whether plants are likely to survive local winters, but a hardiness rating does not guarantee a particular flowering date or reblooming performance.
For troubleshooting, compare your plant’s bloom behaviour with similar cultivars growing locally, rather than relying entirely on a nursery description developed for a warmer region.
A Practical Recovery Plan for This Season and Next
Once you have identified the most likely cause, choose a response that matches the problem. Some changes can improve growing conditions immediately. Others require waiting until the right season.
Changes you can make immediately
If the soil is dry: Water deeply enough to reach the root zone rather than giving the surface a brief daily sprinkle. During active spring growth and bud formation, consistent moisture is especially valuable. Allow for rainfall and avoid keeping the soil waterlogged.
If the bed is competing with weeds: Remove aggressive weeds and grasses growing through the clump. They can reduce the moisture available to the daylily.
If the soil is exposed: Apply a moderate layer of organic mulch, keeping it away from the crown. Mulch helps conserve moisture and moderate soil temperatures.
If buds are distorted: Inspect for pests, remove affected buds and dispose of them appropriately. Do not spray indiscriminately without identifying the cause.
If fertilizer seems excessive: Stop unnecessary feeding and review what has already been applied, including lawn products.
None of these changes guarantees new flowers within weeks. Their immediate purpose is to restore favourable conditions and protect the plant’s remaining growth.
Jobs best left until spring or after flowering
Relocating or dividing a healthy daylily is generally easier in early spring or after its main flowering period.
Recently divided plants may flower poorly during their first season, or even longer if the divisions are small or growing conditions are difficult.
If your daylily receives too little sunlight, choose a new location before digging. Moving it a short distance within the same shaded bed will accomplish little.
For an overcrowded plant, lift the clump and separate it into healthy divisions, each with several fans and a good share of roots. Replant promptly at the correct depth and water thoroughly.
In regions with early autumn freezes, avoid dividing so late that roots have insufficient time to establish.
If the problem comes down to a crowded or poorly positioned planting, planning a daylily bed with better light and spacing may do more for next summer’s flowers than another round of fertilizer.
A simple seasonal schedule can help:
- Spring: Check sunlight, remove dead foliage, inspect drainage and divide overcrowded clumps if necessary.
- Early summer: Monitor soil moisture as scapes and buds develop.
- Peak flowering: Inspect damaged buds, remove spent scapes and record which varieties perform well.
- After flowering: Relocate poorly positioned plants or divide mature clumps when conditions allow.
- Fall: Allow healthy foliage to finish its natural cycle and avoid leaving crowns buried beneath excessive mulch.
Keep a brief record of when each clump flowers. Even a few photographs taken at the same point each year can reveal changes in shade, plant size and bloom abundance.
When a Healthy Daylily Simply Needs More Time
Recently transplanted daylilies often produce fewer flowers because their roots have been disturbed. The plant must rebuild its capacity to absorb moisture and nutrients before it can support abundant flowering.
This is especially noticeable with small divisions taken from mature clumps. A division with limited roots may establish successfully but deliver a modest first summer.
The same patience applies after a difficult growing season. A daylily recovering from drought, winter injury or repeated disturbance may not return to full flowering immediately.
Watch for healthy new fans, firm crowns and steady leaf growth. These are encouraging signs, even when flower scapes are scarce.
There is also a difference between not flowering yet and failing to flower. Early, midseason and late cultivars have different schedules. A late-blooming variety with healthy foliage in June may simply be waiting for its normal season.
If a newly divided plant is otherwise vigorous, give it a full growing season before making another major change. Repeated lifting, feeding and repositioning can prolong the very stress you are trying to correct.
For an established clump that previously bloomed well, however, don’t wait indefinitely. Start with the simplest observations: sunlight, soil moisture, crown depth and crowding.
Those four checks will not explain every flowering problem, but they will usually tell you whether the plant needs a better location, a little care, or simply another season to settle in.